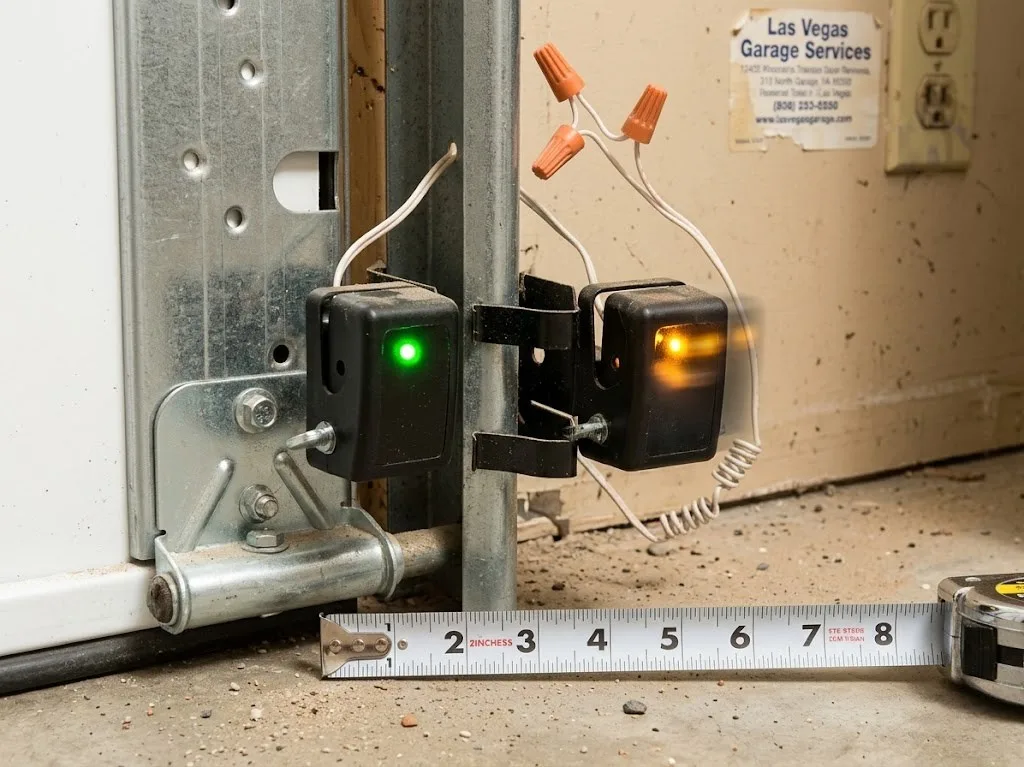
Quick answer: Find the sensor with a blinking LED, wipe both lenses clean with a dry cloth, loosen the wing nut on the blinking sensor, rotate it slowly until the LED goes solid, then retighten. If the problem only happens in the afternoon, direct Las Vegas sunlight is hitting the receiver eye and a small foam shade fixes it. If the lights are still blinking after alignment, the wiring needs a technician.
Your garage door opens fine and then refuses to close. You press the button, it moves a few inches, and goes right back up. The sensors are almost always the reason, and in most cases you can fix it yourself in under 10 minutes. Las Vegas creates sensor problems that homeowners in other cities rarely deal with, mainly afternoon sun interference and bracket drift from thermal cycling. For professional sensor service when the steps below don’t solve it, A1 Local Garage Door offers same-day garage door sensor repair in Las Vegas with parts on the truck for every major brand.
This guide is written by Shlomi Perets, lead technician at A1 Local Garage Door with 14 years of experience across Las Vegas, Henderson, Summerlin, and North Las Vegas. Work through these steps in order before calling anyone.
What Garage Door Sensors Actually Do
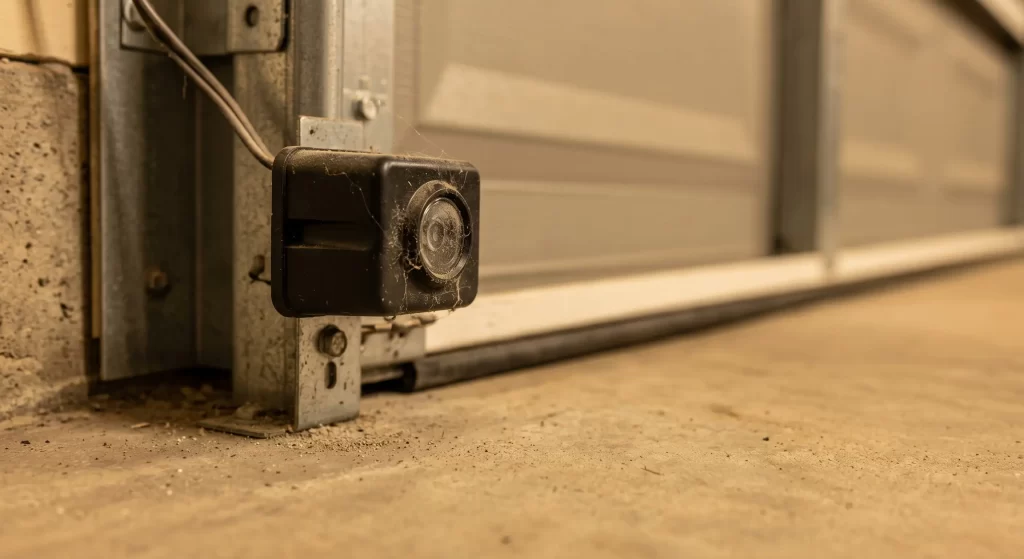
Photo-eye sensors sit about 6 inches above the floor on both sides of your garage door. One sensor sends an invisible infrared beam and the other receives it. When that beam is interrupted while the door is closing, the opener reverses automatically.
Federal safety standards have required these sensors on all residential garage door openers since 1993. Each sensor has a small LED indicator light. When both lights glow solid, the beam is connected and the door operates normally. When one light blinks or goes dark, the connection is broken and the opener will not allow the door to close. The sending sensor usually has a steady green LED. The receiving sensor glows amber or red when aligned. The one that blinks is the one to adjust.
Why Las Vegas Sensors Go Out of Alignment More Than Other Cities
Most sensor guides written for a general national audience miss two Las Vegas-specific causes that account for a large portion of sensor calls across the valley.
Cause 1: Afternoon Sun Overwhelming the Receiver
Las Vegas gets over 300 days of intense direct sunlight every year. If your garage faces south or west, afternoon sun shines directly into the receiver sensor eye between roughly 1 PM and 5 PM. The sunlight carries the same infrared wavelength the sensor uses to detect the beam, so the receiver gets flooded with signal it cannot distinguish from a genuine obstruction.
This is called sensor sunstroke. The door works perfectly in the morning and fails every afternoon. It resolves on its own at sunset. Most homeowners spend weeks confused about it before realizing the pattern.
Cause 2: Bracket Drift from Thermal Cycling
Las Vegas summer temperatures swing 80 degrees or more between a July afternoon and the same night. Metal brackets expand in 115 degree heat and contract in 40 degree winter nights. Over months and years, that constant movement shifts sensors out of position even when nothing physically bumps them.
Homes in Silverado Ranch, Henderson, and Summerlin with garage doors that are 10 or more years old see this regularly. The brackets themselves sometimes fatigue to the point where they no longer hold alignment and need replacement.
Cause 3: Desert Dust on the Lens
Fine silica dust from the Mojave Desert settles on every surface in your garage, including the 6-millimeter sensor lens. A thin dust film scatters the infrared beam enough to weaken or break the connection. This is the most common cause and the easiest fix.
6 Steps to Align Your Garage Door Sensors Right Now
Work through these in order. Most Las Vegas homeowners solve the problem before reaching Step 5.
Step 1: Identify Which Sensor Is Out of Alignment — 30 seconds
Look at the small LED indicator on each sensor. The sending sensor on one side should have a steady green light. The receiving sensor on the other side should glow solid amber or red. Whichever sensor is blinking or completely dark is the one you’ll adjust. Leave the other sensor completely alone.
Step 2: Clean Both Sensor Lenses Before Adjusting Anything — 1 minute
Wipe both sensor lenses with a clean dry cloth before touching any brackets. Las Vegas dust mimics misalignment and cleaning alone resolves the problem in roughly four out of ten service calls across the valley.
Use a dry cloth only, not a wet one. Moisture can temporarily affect the infrared signal and cause false readings during your test. After wiping, step back and check both LEDs. If they both go solid, you’re done.
Use a microfiber cloth if you have one: Paper towels sometimes leave small fibers on the lens that scatter light. A microfiber cloth removes dust cleanly without leaving anything behind.
Step 3: Loosen the Mounting Bracket on the Blinking Sensor — 1 minute
Find the wing nut or bracket screw holding the blinking sensor to its mounting bracket. Using a flathead or Phillips screwdriver, loosen it just enough so you can rotate the sensor by hand. You don’t need to remove it fully. The sensor should pivot freely but remain attached.
Do not touch the sensor on the other side. It stays exactly where it is as the reference point for your adjustment.
Step 4: Rotate the Sensor Until the LED Goes Solid — 3 minutes
With one hand on the sensor and your eyes on its LED light, slowly tilt and rotate the sensor. You’re pointing it toward the other sensor across the door opening. Move in small increments. The moment the light changes from blinking to solid, stop.
Confirm both sensors are at the same height. They should both sit approximately 6 inches above the floor. Use a tape measure if there’s any doubt. A beam angle that’s off by even half an inch can cause intermittent problems that come and go.
String line method for precision: Tie a piece of string from one sensor bracket to the other at the same height. The string gives you a visual reference to confirm both sensors are truly level with each other before tightening.
Step 5: Tighten the Bracket and Test the Door — 2 minutes
Hold the sensor firmly in the position where the light went solid. Retighten the wing nut or screw while keeping the sensor from shifting. This is the step where most people lose alignment. Tighten slowly and check the LED stays solid as you do it.
Run the door through one complete open and close cycle. Watch the door close all the way to the floor without reversing. If it closes cleanly, the alignment is correct. If it reverses again, the bracket shifted during tightening and you’ll need to repeat Step 3 through 5.
Step 6: Add a Sun Shade If the Problem Only Happens in the Afternoon — 5 minutes
If your sensors hold alignment but the door still fails between 1 PM and 5 PM, direct sunlight is hitting the receiver lens. Test this by covering the receiver sensor with your hand during an afternoon failure. If the door closes with your hand blocking the sun, sensor sunstroke is confirmed. Cut a 2-inch piece of foam, cardboard, or thick tape and attach it above the receiver sensor lens so it casts a shadow over the glass eye. You want to block direct sun without blocking the infrared beam angle. Test during peak afternoon hours after attaching the shade.
Which sensor to shade: The receiver sensor is the one with the amber or red LED. The sender emits the beam and is not affected by sunlight the way the receiver is. Only shade the receiver.
When DIY Alignment Will Not Fix the Problem
These six steps resolve most sensor issues. Some situations go beyond alignment and need a technician.
Call A1 Local Garage Door if the sensors still blink after cleaning and realignment. If you see cracked or burned wiring running from the sensor to the opener, stop and call. Do not attempt to repair wiring while the opener is plugged in. Las Vegas heat makes sensor wire insulation brittle, and bare copper sections can arc and damage the logic board.
If the opener flashes its overhead light 10 times in a row after you press the button, that specific blink count indicates a wiring fault to the logic board rather than simple misalignment. The opener is telling you the problem is electrical, not mechanical.
If the sensor housing itself is cracked, discolored, or melted from UV exposure, the sensor lens may be permanently distorted. Alignment fixes nothing when the sensor itself has failed. Replacement sensors for LiftMaster, Chamberlain, Genie, and Craftsman openers typically run $85 to $150 installed.
How Las Vegas Homeowners Can Prevent Sensor Problems
Most sensor calls in Las Vegas are preventable with two simple habits done twice a year.
Wipe both sensor lenses with a dry cloth every six months, once in spring before the dust season and once in fall after monsoon season deposits grit throughout the valley. This single habit eliminates the most common call Shlomi handles in Henderson, Spring Valley, and Summerlin.
Check both indicator lights every 30 days. This takes 10 seconds. If either light is blinking, address it immediately rather than waiting for the door to fail during a tight schedule. A blinking light that goes unaddressed typically leads to full sensor failure within weeks in summer heat.
An annual inspection from A1 Local Garage Door includes sensor cleaning, alignment verification, wiring check, and full system test. For homeowners whose doors have been acting up, the inspection often catches bracket fatigue and wiring issues before they cause a complete failure. Book a garage door repair in Las Vegas service call or ask about the full inspection when you call.
When Sensor Problems Are a Sign Your Opener Needs Attention
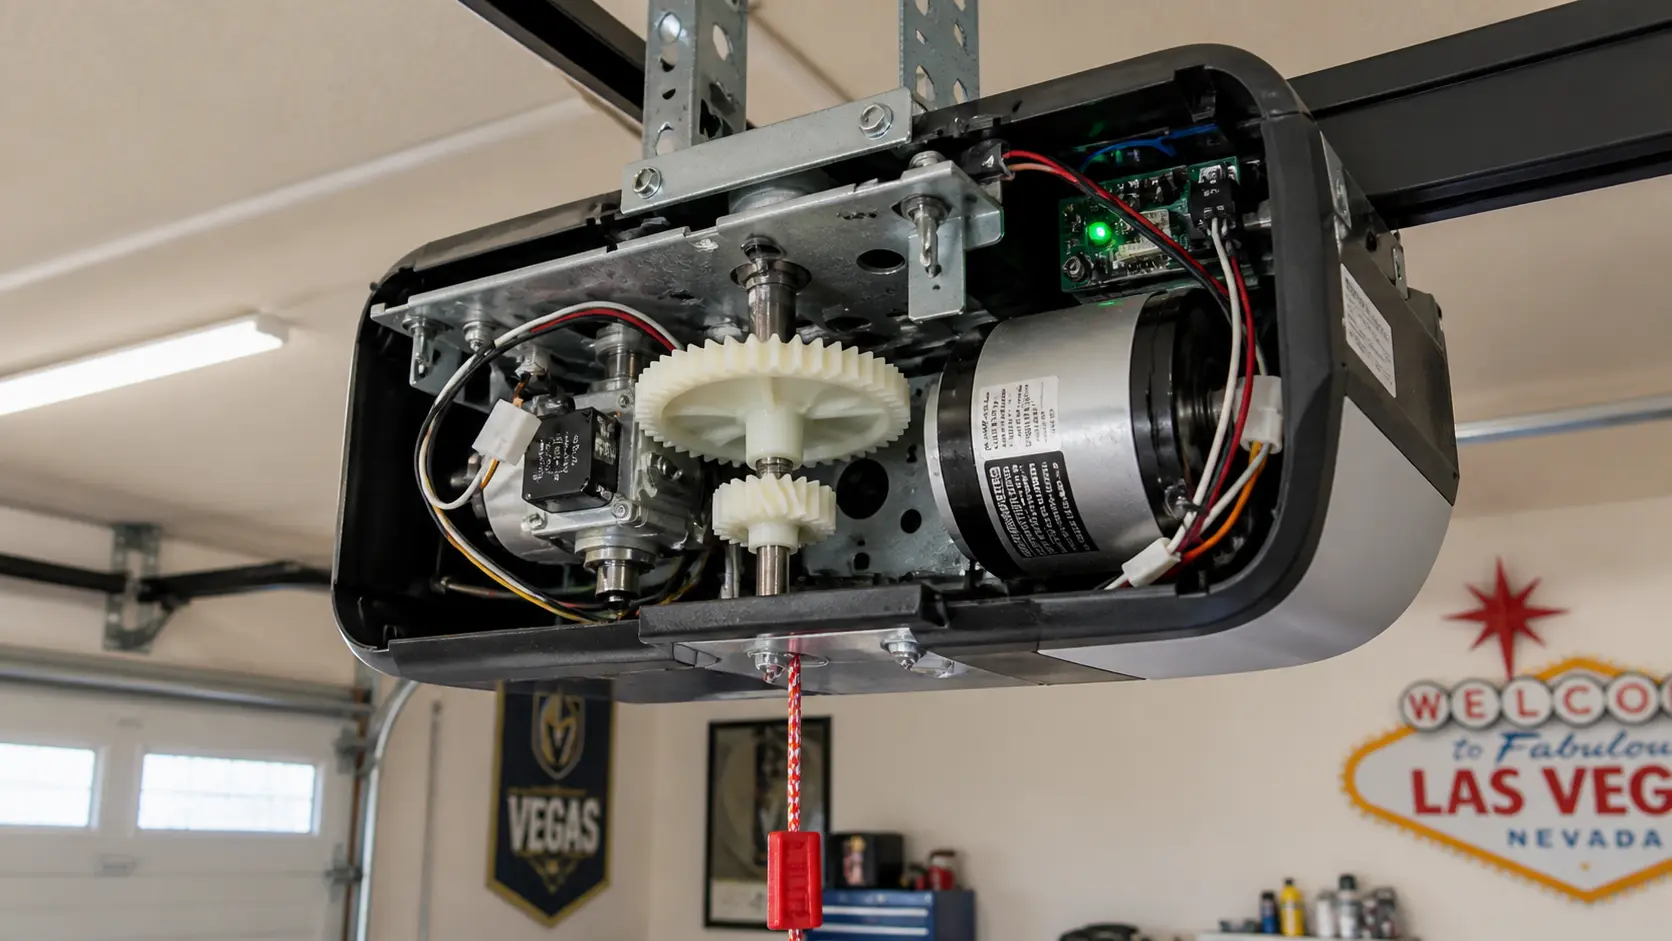
Sensors that go out of alignment repeatedly despite correct bracket tightening are often telling you something about the opener itself. Excess vibration from a worn chain drive, a loose motor mount, or a drive gear with worn teeth transmits shaking through the rail and into the sensor brackets with every cycle.
If you’ve aligned your sensors three or more times in the past year, the sensor isn’t the root problem. The opener is creating vibration that continually shifts the brackets. At that point, addressing the opener is the real fix.
Las Vegas homes with chain drive openers that are 10 or more years old are especially prone to this pattern. The combination of desert heat, daily use, and normal internal gear wear creates more vibration than the sensor brackets were designed to handle indefinitely.
If your opener is contributing to repeated sensor misalignment, A1 Local Garage Door handles same-day diagnosis and repair across Las Vegas. For situations where the door is stuck open right now, our team provides 24/7 emergency garage door repair Las Vegas with a real person answering every call.
FAQs
How do I know which garage door sensor is out of alignment?
The sensor with the blinking or unlit LED is the one that needs adjustment. The sending sensor typically has a steady green light, and the receiving sensor should glow amber or red. If either light blinks or goes dark, that sensor has lost the beam.
Why does my Las Vegas garage door sensor keep going out of alignment?
Las Vegas heat causes mounting brackets to expand slightly during summer and contract at night. Over months, this thermal cycling shifts sensors out of position even when nothing physically bumps them. Tightening the wing nut after each alignment helps, but sensors in 10-plus-year-old brackets may need bracket replacement.
Can afternoon sun in Las Vegas make my sensor blink?
Yes. Direct afternoon sunlight overwhelms the infrared receiver eye and causes a false obstruction reading. This is called sensor sunstroke and it only happens during specific hours on south or west-facing garages. A small foam or cardboard shade taped above the sensor lens solves it permanently.
Is it safe to close my garage door by holding the wall button when sensors are blinking?
Holding the wall button forces a manual override that closes the door regardless of sensor status. It works but it disables the automatic safety reversal while you hold it. Only use this temporarily and fix the sensor alignment before leaving the door unattended.
When should I call a technician instead of aligning the sensors myself?
Call a technician if the sensors still blink after cleaning and realignment, if you see cracked or burned wiring, if the sensor housing is visibly damaged, or if the opener flashes its light 10 times in a row which signals a wiring fault rather than alignment.
Garage Door Sensor Repair Across Las Vegas
A1 Local Garage Door serves homeowners across Las Vegas, Henderson, Summerlin, North Las Vegas, Spring Valley, Silverado Ranch, and Green Valley. Every truck carries sensor units for LiftMaster, Chamberlain, Genie, and Craftsman openers so most sensor repairs finish in a single visit. No surprises. No hidden fees. A written quote after diagnosis before any work starts. Call (702) 937-2911 and a real person picks up.